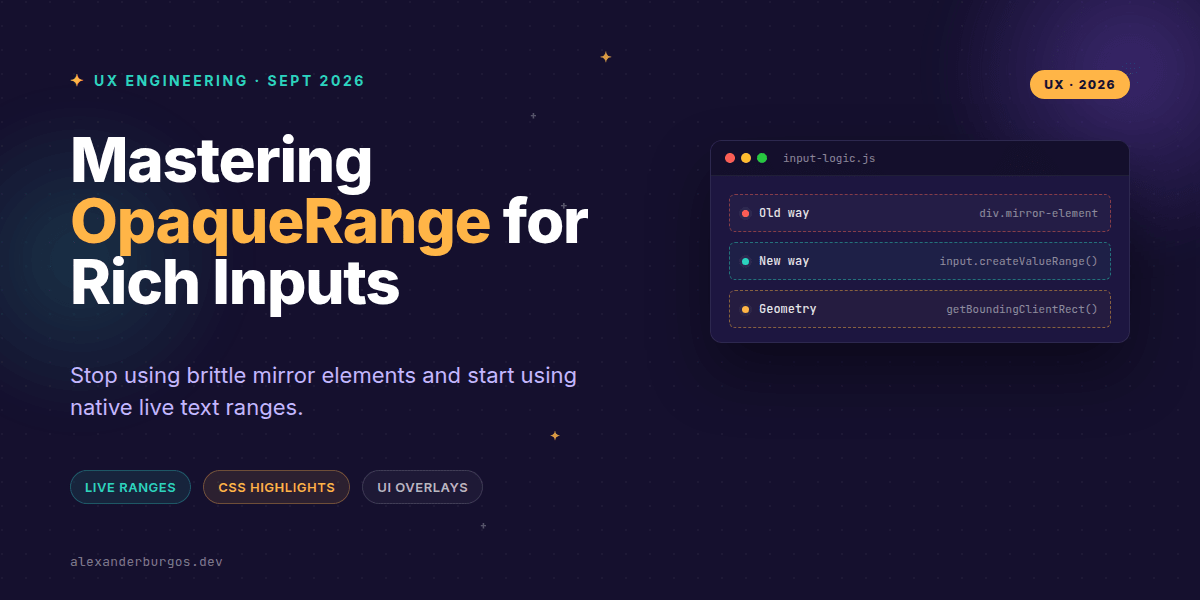
Ever wondered why building a simple @mention autocomplete or a spelling highlighter feels like fighting the entire browser? We've all been there: synchronising hidden 'mirror' divs, calculating font metrics by hand, and praying the user doesn't use a weird emoji that throws your character offsets into chaos.
Right, let's talk about OpaqueRange. It's a game-changer for anyone working on rich text experiences within native <input> and <textarea> elements. Instead of hacking around the DOM, we finally have a way to talk to the browser's internal text representation directly.
The Problem with 'Mirroring'
Until recently, if you wanted to position a popup exactly where the user was typing, you had to clone the entire input's styles—font-size, line-height, padding, the works—into a hidden <div>. You'd then calculate the width of the text to find the (x, y) coordinates. It's brittle, it's slow, and it's a nightmare for accessibility.
OpaqueRange solves this by creating a live span of text inside the form control. The browser knows exactly where that text is rendered, and it gives us the geometry without exposing the internal, messy shadow-tree nodes.
How it Works
The API is elegantly simple. It extends the HTMLInputElement and HTMLTextAreaElement interfaces with a new method. Here's what the basic implementation looks like:
const input = document.querySelector('#search');
// Create a range from character 5 to 12
const range = input.createValueRange(5, 12);

// Get the actual screen coordinates!
const rect = range.getBoundingClientRect();
console.log(`Text is at: ${rect.left}, ${rect.top}`);
The magic word here is live. If the user edits the text, the range updates its internal reference. However, keep in mind that while it's live in terms of rendering, you'll still want to update your logic if the underlying data model changes significantly.
Real-World Use Case: The Range-Aware Popover
Imagine you're building a command palette or an autocomplete menu. You need that menu to follow the cursor or the specific 'token' being typed. In my experience, this used to be the hardest part of UX engineering. Now, it's a few lines of code.
function getPositionForToken(input, start, end) {
  if (!input.createValueRange) return null;

  const range = input.createValueRange(start, end);
  const rect = range.getBoundingClientRect();

  return {
    x: rect.left + window.scrollX,
    y: rect.bottom + window.scrollY
  };
}
Native Highlighting with CSS
Perhaps the most exciting integration is with the CSS Custom Highlight API. Previously, highlighting text inside a textarea meant overlaying transparent divs or switching to contenteditable (which brings a whole new set of headaches). With OpaqueRange, you can highlight native text directly.
const range = textarea.createValueRange(0, 10);
const highlight = new Highlight(range);
CSS.highlights.set("search-result", highlight);
::highlight(search-result) {
background-color: #ffe58a;
text-decoration: underline;
}Important Gotchas
Before you rush to refactor your entire codebase, there are a few things you need to know. First, an OpaqueRange is not a standard DOM Range. If you try to access range.startContainer, you'll get null. This is by design to protect the encapsulation of the form control.
- Browser Support: As of late 2026, this is primarily available in Chromium-based browsers (Chrome 152+, Edge 152+). Always feature-detect.
- Boundary Limits: You can't create a range that starts inside a textarea and ends in a paragraph outside of it.
- Selection vs. Range: Creating a value range doesn't change the user's cursor position. You still use
setSelectionRangefor that.
Wrapping Up
- OpaqueRange eliminates the need for 'mirror elements' by providing direct access to text geometry.
- It integrates perfectly with the CSS Custom Highlight API for performant, accessible text marking.
- Always provide a fallback for Firefox and Safari using traditional offset calculations or selection-based positioning.
I'm genuinely excited to see how this cleans up our component libraries. Give it a try in the latest Edge or Chrome beta—it's incredibly satisfying to see a popup snap perfectly to a text token with zero CSS hacks.
If you want to go deeper and learn how to build real, production-ready CSS design systems step by step, check out my full course here: CSS Design Systems Course
I built DS Sync precisely so you do not have to do this by hand any more, free tier covers most teams.
For more tips on UX engineering and CSS architecture, let's connect on Twitter or LinkedIn.