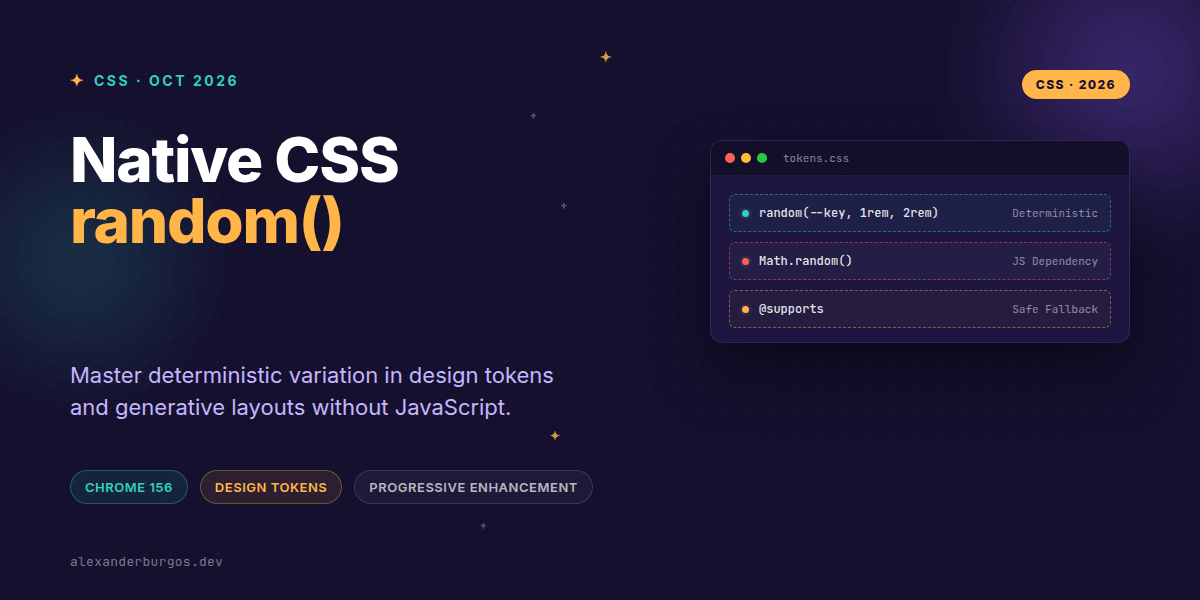
Right, let's talk about random(). For years, if we wanted a bit of visual variety—maybe a slightly tilted card or a jittered grid—we had two choices: reach for a heavy JavaScript math function or hard-code a dozen nth-child variations. Neither felt particularly elegant for a scalable design system.
Chrome 156 has finally changed the game. With the native random() function, we can now bake controlled, deterministic variation directly into our stylesheets. It's a massive win for generative UI, but as with all powerful tools, there's a right way and a 'break-your-layout' way to use it.
The Syntax: More than just a roll of the dice
The implementation in Chrome 156 follows the spec closely, offering a few different ways to call the function. You aren't just getting a random number; you're getting control over the range, the increments, and even how that value is cached.
/* Simple range */
random(10px, 50px);

/* Range with a step (increments) */
random(0rem, 2rem, 0.25rem);

/* Range with a cache key for consistency */
random(--my-seed, 1deg, 5deg);
That first argument—the cache key—is the secret sauce for design systems. By default, every instance of random() resolves to a unique value. If you want two different properties on the same element to share a 'random' base, you provide them with the same dashed identifier key.
Pattern 1: Adding 'Jitter' to Design Tokens
I've found that the best use for this in design systems isn't total chaos, but subtle 'jitter'. Think about organic-feeling UI where components aren't perfectly sterile. You can define a base token and then apply a random offset.
:root {
  --space-base: 1.5rem;
  /* A small, bounded variation */
  --space-jitter: random(--space, -0.2rem, 0.2rem, 0.05rem);
}

.card {
  padding: calc(var(--space-base) + var(--space-jitter));
}
By using a STEP (the third numeric argument), you ensure the variation still aligns with your spacing scale. It keeps the design feeling intentional rather than broken.
Pattern 2: Generative Layouts with Shared Keys
When building decorative elements, like background tiles or floating badges, you often need the X and Y coordinates to feel related. Using a shared key allows you to correlate these values without them being identical.
.decorative-tile {
  /* Shared key --tile ensures these values are cached together */
  --x: random(--tile, 0%, 100%, 5%);
  --y: random(--tile, 0%, 100%, 5%);

  translate: var(--x) var(--y);
  rotate: random(--tile-angle, -5deg, 5deg);
}
Important note: A shared key doesn't mean the value is permanent across page reloads. If the user refreshes, the 'seed' resets. Don't treat these as persistent state variables; treat them as presentational flair.
The Accessibility Guardrails
We need to be careful here. Randomness can easily lead to WCAG violations if we aren't disciplined. I always recommend wrapping your random values in a clamp() to ensure they never exceed safe limits.
- Never randomize contrast: Don't let your background and text colours get too close.
- Hit targets: Ensure buttons don't shrink below 44x44px due to a 'bad roll'.
- Text clipping: Don't randomize container widths so much that content overflows or gets cut off.
Browser Support and Safe Fallbacks
As of October 2026, Chrome 156 is leading the way, and Safari has started picking up support. However, it's not yet 'Baseline'. If a browser doesn't understand random(), it will simply ignore the entire declaration. We must use @supports.
.badge {
  /* Standard fallback */
  rotate: 2deg;
}

@supports (rotate: random(0deg, 1deg)) {
  .badge {
    rotate: random(--badge-seed, -3deg, 3deg, 0.5deg);
  }
}The full story including the testing layers and governance lives in Ship Your Design System on Amazon.
Wrapping Up
- Use
random()for presentational variety, not for critical layout logic or security. - Always provide a shared key when you need related properties to stay in sync.
- Wrap your random logic in
@supportsto ensure your design doesn't break on older browsers.
I'm genuinely excited to see how this reduces our reliance on heavy JS libraries for simple generative effects. Give it a go in your next experimental project!
If you want to go deeper and learn how to build real, production-ready CSS design systems step by step, check out my full course here: CSS Design Systems Course
Let's keep the conversation going. You can find me sharing more CSS tips on Twitter or connect with me for a deeper dive on LinkedIn.