Let's be honest — we've all been in a situation where we're fighting a third-party library's CSS, adding `!important` tags like they're going out of fashion just to change a button colour. It's frustrating, messy, and frankly, a bit of a nightmare to maintain.
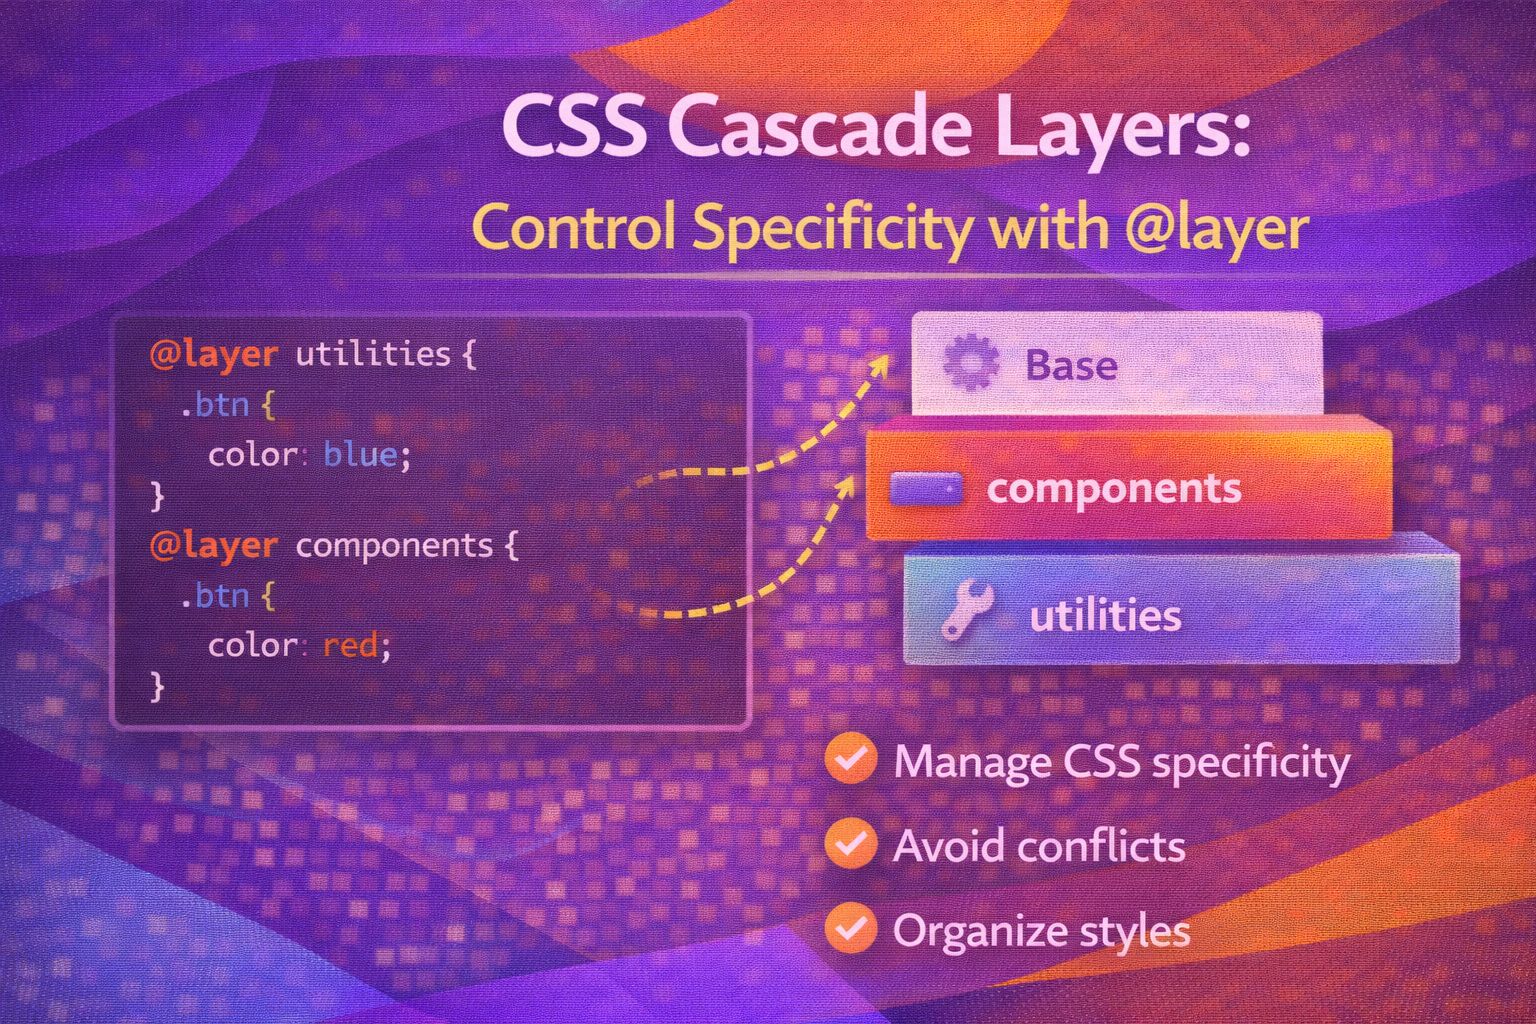
What if I told you that the cascade is finally growing up? With CSS Cascade Layers (`@layer`), we can now group our styles into logical buckets where the order of the layers — not just the complexity of the selector — determines who wins the specificity battle.
The Basic Syntax: Defining Your Layers
The most important thing to remember is that layer order is king; you should always declare your layer order at the very top of your main CSS file to stay in control.
/* Establish the layer hierarchy upfront */
@layer reset, base, components, utilities;

/* Rules in 'utilities' will always beat 'components' regardless of selector weight */
Once you've defined the order, you can wrap your styles in named blocks, and CSS will respect your hierarchy even if a 'base' selector is technically more specific than a 'component' selector.
@layer base {
  /* High specificity, but in a 'lower' layer */
  body #main-content h1.title {
    color: black;
  }
}

@layer components {
  /* Lower specificity, but in a 'higher' layer */
  h1 {
    color: rebeccapurple; /* This wins! */
  }
}Organising Complex Projects
In a real-world design system, I've found it's best to separate your resets and third-party overrides into their own layers so they don't pollute your core component logic.
@layer theme {
  :root {
    --primary-blue: #005aff;
  }

  .button {
    background: var(--primary-blue);
  }
}

/* Overriding a library without using !important */
@layer vendor-overrides {
  .external-library-widget {
    border-radius: 0;
  }
}
The cool bit? You can even use the `@import` rule to assign entire external stylesheets to a specific layer right at the top of your file.
/* Import an external library into a specific layer */
@import url('bootstrap.css') layer(vendors);

@layer vendors, custom;

@layer custom {
  .btn {
    /* This will override Bootstrap's .btn easily */
    padding: 2rem;
  }
}Nested Layers and Unlayered Styles
You can go even deeper by nesting layers within each other, which is incredibly handy for complex design systems that need internal utility overrides.
@layer framework {
  @layer layout {
    .container { max-width: 1200px; }
  }

  @layer components {
    .card { padding: 1rem; }
  }
}

/* Accessing nested layers from outside */
@layer framework.layout {
  .container { max-width: 1440px; }
}
Here is a massive 'pro move' tip: any CSS that is NOT inside a `@layer` block is automatically treated as the highest priority layer.
@layer base {
  p { color: blue; }
}

/* This is unlayered, so it wins over ANY @layer rule */
p {
  color: red;
}Browser Support
The support for Cascade Layers is actually fantastic across the board. It's ready for production in modern environments, though you should always consider your project's specific user base.
- Chrome/Edge: 99+
- Firefox: 97+
- Safari: 15.4+
- Opera: 86+
If you need to support older browsers, non-supporting browsers will ignore everything inside the `@layer` block, so I'd recommend using a PostCSS polyfill like `postcss-cascade-layers` for safety.
Wrapping Up
CSS Layers are a total game changer for how we structure our stylesheets. No more specificity hacks or fighting with legacy code — just clean, predictable logic.
- Layer order is defined by the declaration order, with the last layer winning.
- Unlayered styles always have the highest priority over layered styles.
- Use @layer to safely isolate third-party library styles from your internal design system.
If you want to go deeper and learn how to build real, production-ready CSS design systems step by step, check out my full course here: CSS Design Systems Course
Got questions or want to share how you're using this? Drop me a message on LinkedIn - I always enjoy chatting about this stuff!