Ever wondered why your beautifully crafted parallax animation feels like a slideshow on a budget smartphone while flying at 120fps on a MacBook Pro? We've all been there, trying to find that 'sweet spot' for performance that usually ends up being a compromise for everyone.
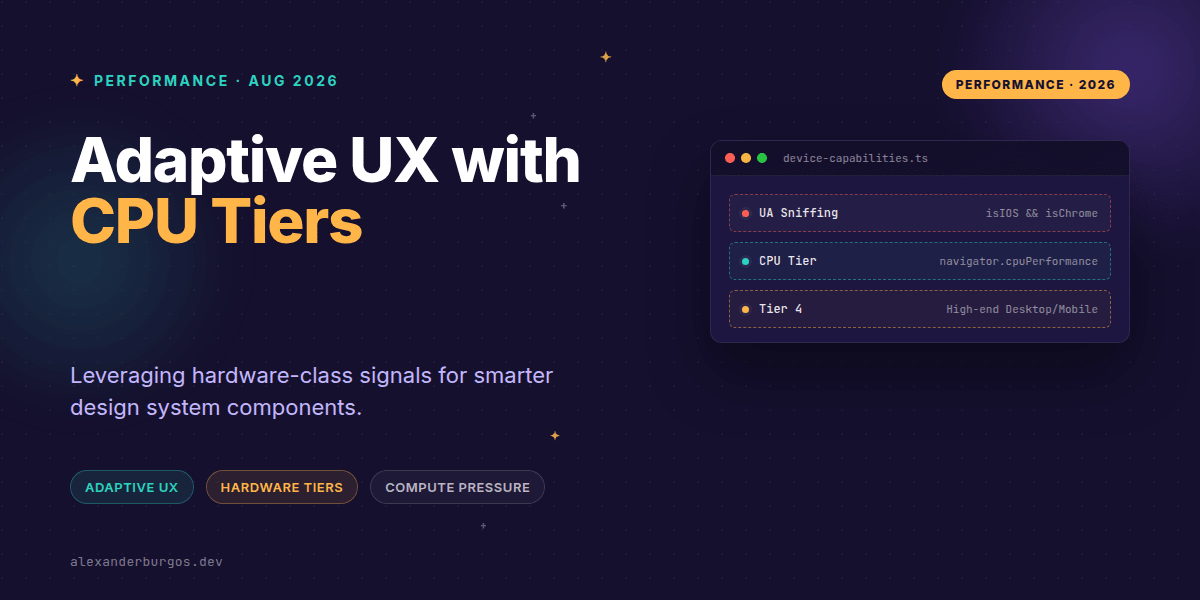
For years, we've relied on crude User Agent (UA) sniffing or expensive ad-hoc benchmarks to guess what a device can handle. It’s messy, unreliable, and frankly, a bit of a nightmare to maintain. But that's changing. With the introduction of the CPU Performance API, we finally have a static, hardware-class signal to bucket devices into performance tiers without the guesswork.
What is the CPU Performance API?
The CPU Performance API (currently incubating in the WICG) classifies devices into distinct performance tiers, numbered 1 through 4. A higher number means a more powerful CPU. It’s a static signal, meaning it tells you what the hardware is capable of, rather than what it's doing at this exact second.
According to the WICG spec, this API is designed to be a proxy for the hardware class. It allows us to make up-front decisions about content complexity. Should we load the heavy 3D library? Should we enable Concurrent React features? The tier gives us the answer before we even start rendering.
Static Tiers vs. Dynamic Pressure
It's important to distinguish this from the Compute Pressure API. While navigator.cpuPerformance tells you the 'engine size' of the car, the Compute Pressure API tells you how hard the engine is working right now.
- CPU Performance API: Static tier (1-4). Use for loading strategies and enabling/disabling heavy features.
- Compute Pressure API: Dynamic states (nominal, fair, serious, critical). Use for real-time adjustments like dropping frame rates or pausing background tasks.
Implementing Adaptive UX in React
I've found that the best way to use this is by creating a performance provider at the root of your application. This way, your design system components can consume the performance tier and adjust their personality accordingly.
// Feature-detect and fallback to 0 (assume capable)
const tier = ('cpuPerformance' in navigator)
  ? navigator.cpuPerformance
  : 0;

// Determine strategy
const isHighEnd = tier >= 3 || tier === 0;

const AppConfig = {
  animationQuality: isHighEnd ? 'high' : 'low',
  enableHeavyTransitions: isHighEnd,
  useConcurrentMode: isHighEnd
};
By checking for tier >= 3, we target high-end devices for premium experiences while ensuring that users on tier 1 or 2 devices get a functional, albeit stripped-back, interface that doesn't set their phone on fire.
Design System Integration
In a design system, we can use these tiers to toggle specific CSS properties or component variants. For instance, a button might have complex SVG ripples and multiple box-shadows on a Tier 4 device, but fall back to a simple flat background change on Tier 1.
function getButtonVariant(tier) {
  if (tier >= 4) return 'premium-glassmorphism';
  if (tier >= 2) return 'standard-animated';
  return 'basic-static';
}
Common Pitfalls to Avoid
Don't hardcode the maximum tier as 4. The spec specifically mentions that Tier 5 and above are likely coming in the future. Always write your logic to handle 'greater than or equal to' scenarios so your site doesn't treat a future super-phone as a low-end device.
Also, remember that this isn't a replacement for real-user monitoring (RUM). CPU tiers don't account for poor network conditions or low battery states. It's one signal in a larger orchestra of performance metrics.
Wrapping Up
- Use the CPU Performance API for static, up-front hardware classification.
- Combine it with the Compute Pressure API if you need to react to real-time CPU spikes.
- Always feature-detect and ensure your logic is forward-compatible for tiers 5 and beyond.
I encourage you to start experimenting with navigator.cpuPerformance in your next project. It’s a massive step forward for building truly inclusive, adaptive web experiences.
If you want to go deeper and learn how to build real, production-ready CSS design systems step by step, check out my full course here: CSS Design Systems Course
I cover the full pipeline in Ship Your Design System, 200 pages on Amazon Kindle.
Let's connect! You can find me sharing more performance tips on Twitter or over on LinkedIn.